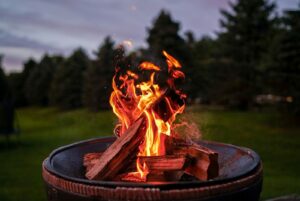


Learn safe and effective methods for permanently closing off unused fireplaces in your Texas home.
If you have a fireplace but rarely light it anymore, especially in Texas where winters are mild and summers dominate, it may be time to consider permanently closing it off. An idle fireplace can create drafts, raise your energy bills, and even let in pests. In this guide, you will learn how to close off a fireplace, whether you want a temporary solution or a permanent fix, and what materials you’ll need. Let’s walk through a practical and safe step-by-step process.
Why Close Off a Fireplace?
Fireplaces are cozy and atmospheric, but many homeowners rarely use them. Today’s HVAC systems keep homes comfortable year-round, making fireplaces obsolete in many cases. Leaving a fireplace open when unused can cause several issues.
First, heat (or cool air) escapes through the chimney, lowering your home’s energy efficiency and increasing utility bills. Second, an open chimney can become a pathway for rodents, birds, or insects. Third, it may let in moisture during storms. Finally, if you are remodeling your home, an unused fireplace can get in the way of a more modern layout.
Closing your fireplace not only increases energy efficiency, but also makes your space safer and reduces maintenance.
Temporary vs Permanent Fireplace Closure
Before starting, decide if you want a temporary closure (in case you might someday use the fireplace again), or a permanent seal. Temporary solutions include chimney balloons, removable panels, or foam board plugs. These are inexpensive, reversible, and quick.
Permanent closure involves sealing the chimney flue, insulating the firebox, installing a rigid barrier, and finishing the interior space. Though more involved, it is a cleaner and more durable solution. For most homeowners who will not use their fireplace again, permanent closure is the smarter choice.
Step by Step: Sealing a Fireplace Safely
Here is a homeowner-friendly, step-by-step walkthrough on how to seal a fireplace.
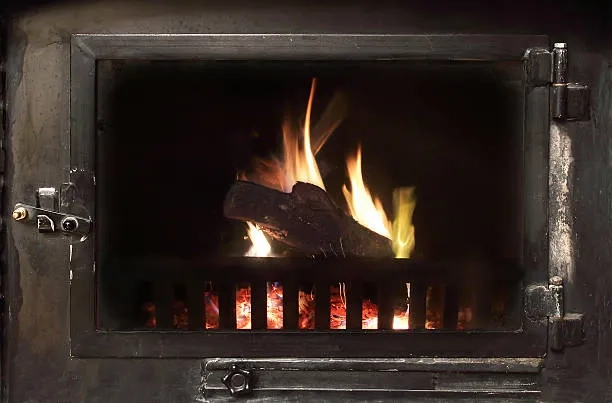
1. Inspect the fireplace and chimney.
Check for cracks in the firebox, damaged flue tile, evidence of moisture or animal nests. If you notice signs of wear or damage, having a professional inspect your chimney is a smart first step.
2. Fully clean the firebox.
Remove ash, soot, and any debris. A clean firebox ensures better sealing and prevents odors or pest attraction.
3. Seal the chimney top.
Install a metal or concrete chimney cap. This stops rainwater, insects, or birds from entering while keeping the chimney completely closed.
4. Insulate inside the firebox.
Place rigid insulation or mineral wool inside the flue or firebox to reduce heat loss or cold drafts.
5. Install a rigid barrier.
Seal off the firebox opening with a drywall patch or masonry block wall. Secure it firmly, so there are no gaps around the barrier.
6. Finish the surface.
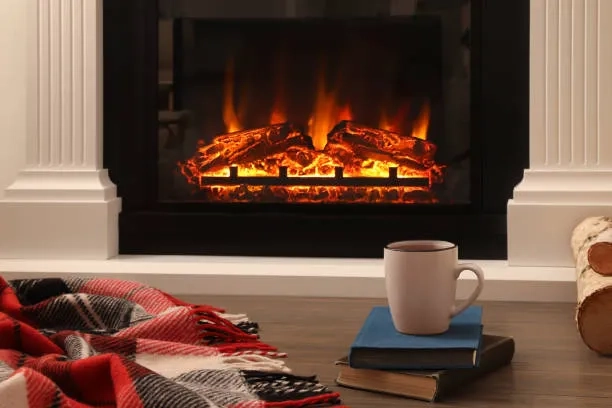
Use paint, tile, wood paneling, or other finishes to match your interior décor and disguise the sealed fireplace.
7. Optional vent block or cover plate.
You may add a decorative vent or cover panel to resemble a wall or cabinet. This allows for easy reversal if desired.
Tools and Materials for Fireplace Closure
Successfully sealing a fireplace requires the right materials, both for functionality and for maintaining the aesthetics of your living space. Here’s a more detailed look at what you’ll need for a long-lasting and safe fireplace closure.
-
Chimney Cap (Drilled or Bolted in Place)
A metal or concrete chimney cap is essential for permanently sealing the top of the chimney. Look for corrosion-resistant options rated for all-weather use.
-
Fire-Rated Insulation (Mineral Wool or Rigid Foam)
Proper insulation inside the firebox and flue helps prevent unwanted air leaks and keeps your indoor temperature stable. Choose mineral wool or rigid foam insulation that is fire-rated for use near heat sources. Mineral wool is especially effective as it resists both high heat and moisture.
-
Mortar, Fire-Rated Caulk, or High-Temperature Sealant
To fully seal cracks and joints inside the firebox or chimney, you’ll need masonry mortar or a high-temp sealant that can withstand heat fluctuations. Fire-rated caulking is ideal for sealing around panels or barriers without cracking over time.
-
Drywall or Masonry Materials
Depending on your style preference, you can close the fireplace opening using either drywall (for a flush wall finish) or masonry materials like bricks or cement blocks (for a rustic or architectural look). Either option should be securely anchored and insulated behind the surface.
-
Screws, Brackets, and Taping Tools
These are necessary for anchoring any interior barrier, be it drywall, metal panels, or a wood frame. Choose fasteners that can handle heat and resist corrosion, and seal any joints with fire-rated tape when necessary.
-
Interior Finish Materials (Paint, Tile, Paneling)
Once the fireplace is sealed, you’ll want to make the space blend with the rest of your room. This is where your design choices come in – whether it’s textured paint, ceramic tile, wood paneling, or a decorative cover.
Pro Tip: Always consider heat and humidity when choosing your materials. Products that perform well in cold climates may not hold up in Central Texas weather.
Common Pitfalls Homeowners Should Avoid
When it comes to sealing a fireplace, there are a few common mistakes that can compromise safety, comfort, or long-term effectiveness. Avoid these to ensure a professional result:
-
Skipping the Chimney Cap
Even if you seal off the inside, failing to install a chimney cap at the top leaves your chimney vulnerable. Rain can enter and cause mold or internal structural damage, while critters like birds, squirrels, or insects can nest inside the flue. A chimney cap is a low-cost fix that protects your home from expensive future repairs.
-
Using Non-Fire-Rated Materials
Some homeowners attempt to use standard insulation or sealant, not realizing that anything inside or near the firebox must be able to withstand high temperatures. Always select fire-rated materials, even if your fireplace will no longer be active to ensure safety and compliance with building codes.
-
Forgetting About Ventilation
Completely sealing a fireplace without allowing for any airflow can trap moisture, leading to mold growth or musty odors. If you’re insulating or enclosing the firebox, consider installing a small passive vent or breathable barrier to allow minimal air circulation. This is especially important in Texas where humidity levels can fluctuate dramatically.
-
Ignoring Local Building Codes
Different Texas municipalities have rules about fireplace modifications. Some may require a permit, especially if structural changes or chimney caps are involved. Skipping this step can result in fines or inspection problems when you sell your home. Be sure to contact your city or county permitting office to confirm whether any approvals or inspections are required before starting the project.
-
Doing the Job Yourself When You’re Unsure
DIY can be rewarding, but fireplace closure requires attention to detail and understanding of building safety. If your fireplace or chimney shows signs of structural issues like cracked mortar, moisture damage, or leaning masonry, it’s best to call in a professional. Improper sealing can lead to bigger problems later.
Conclusion
Closing your unused fireplace is a practical step toward creating a safer, more energy-efficient home. Whether you’re suppressing drafts, keeping pests out, or refreshing your room design, proper fireplace closure protects your home and enhances comfort. With the right materials and process, the project can be a clean DIY or a quick pro job.
Contact Darden Building Materials for expert guidance and all the supplies you need for a safe and effective fireplace closure. Don’t leave your chimney open to wasted energy or pests. Close it right with Darden.